The camera sensor finds its place in more and more scenarios today. It’s not really just about taking the popular selfies or photos with friends, but also about serious business scenarios.
Today, I would like to introduce you to the cross-platform Camera API and demonstrate how you can effortlessly take photos with both Android and iOS devices using a single shared JavaScript code base.
The Camera API is a part of the Camera module that you can find in the tns_folder that every NativeScript project has.
Adding a reference to the Camera module is easy, just set the following require declaration:
var cameraModule = require("camera");
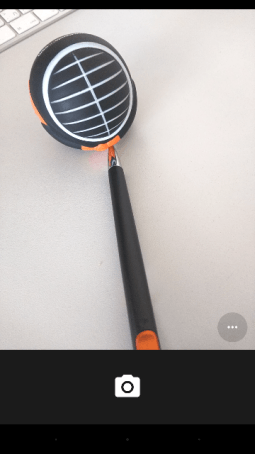
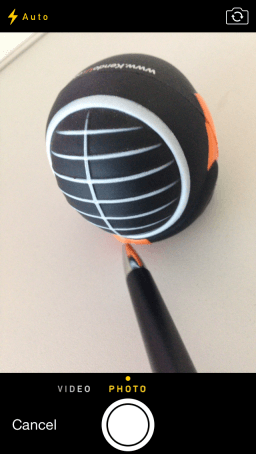
Further, in order to actually take the photo, you need to call the takePicture method of the cameraModule. This will start the native platform camera application:
 |
 |
After taking the picture and tapping the button Save (Android) or use image (iOS) the promise will return an image object:
cameraModule.takePicture().then(function(picture) {
console.log("The result is an image");
});
<Page loaded="onPageLoaded" xmlns="http://www.nativescript.org/tns.xsd" >
<GridLayout rows="*, auto">
<Image id="img" row="0" />
<Button tap="tapAction" text="Take a selfie!" row="1"/>
</GridLayout>
</Page>
var cameraModule = require("camera");
var imageModule = require("ui/image");
var view = require("ui/core/view");
var imageContainer;
function onPageLoaded(args) {
var page = args.object;
imageContainer = view.getViewById(page, "img");
}
function tapAction() {
cameraModule.takePicture().then(function (picture) {
imageContainer.imageSource = picture;
});
}
exports.onPageLoaded = onPageLoaded;
exports.tapAction = tapAction;
Most mid-to-high-level devices have pretty decent quality cameras which results in huge default image files which we may not always need. The takePicture() method takes the following optional parameters to help you define the size of the photo:
“What’s а device independent pixel?” you would ask. This excellent video by the Google Android team gives а pretty comprehensive answer to that: https://www.youtube.com/watch?v=zhszwkcay2A . In short, as the video says:
Device (or density) independent pixels (abbreviated dp or dip) are a virtual pixel unit, equivalent to one physical pixel on a 160dpi (MDPI) screen, and scaled proportionally on higher or lower density screens.
The NativeScript layout mechanism uses device independent pixels when measuring UI controls. This allows you to declare one layout and this layout will look similar to all devices (regardless of the device display resolution).
Setting the keepAspectRatio property could result in a different than requested width or height. The Camera module will return an image of the correct aspect ratio, and generally only one of the size parameters (width and height) will be same as requested, while the other value will be calculated in order to preserve the aspect ratio of the original image.
Here is how we can use that sizing API:
cameraModule.takePicture({width: 300, height: 300, keepAspectRatio: true}).then(function(picture) {
imageContainer.imageSource = picture;
});
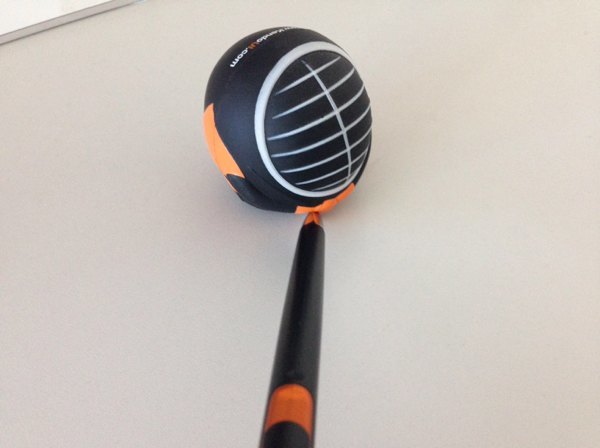
So, let’s see what one of our Telerik stress balls did with this app:

Happy photo shooting coding!